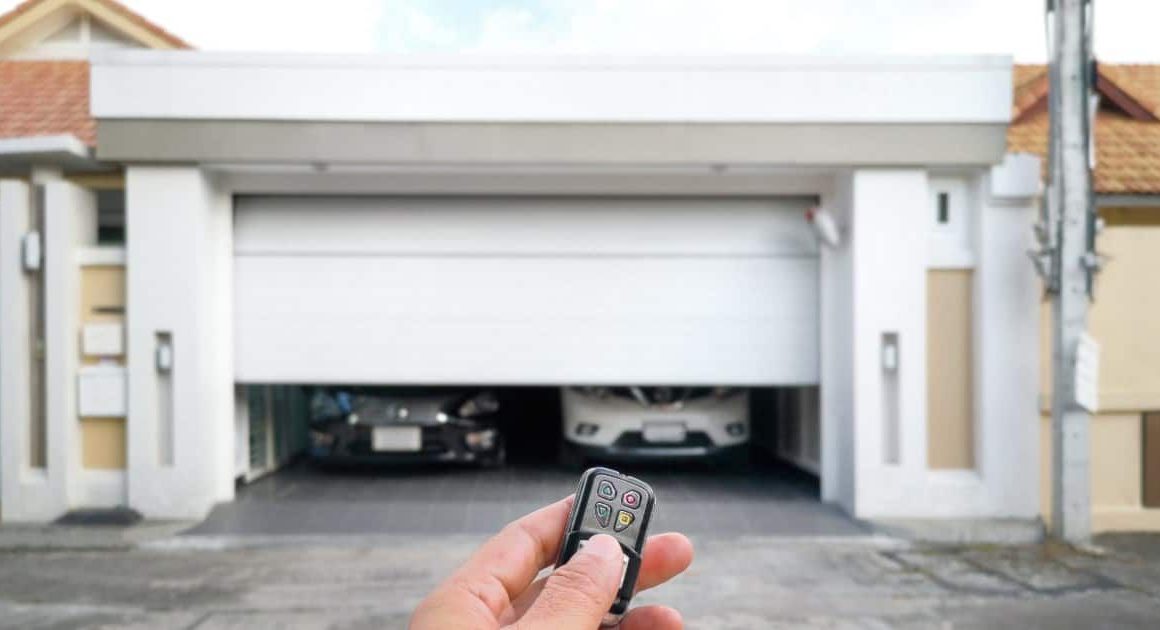
Before diving into the specifics, let’s establish a general understanding of how garage door remote control programming works. Regardless of the brand of your garage door opener, the process typically involves two main steps:
- Putting the opener in “learning mode.” This essentially activates the opener to receive and store a new signal from your remote. The “learn” button is usually located on the opener unit itself (often near the ceiling) and might be labeled differently depending on the brand. Don’t worry, we’ll provide tips on identifying it in the next sections.
- Syncing your remote with the opener. Once the opener is in learning mode, you’ll press a button on your remote to transmit its unique signal. The opener recognizes this signal and stores it in its memory, allowing the remote to control the door in the future.
Adding a New Hand-Held Remote Control
Now that you’re armed with the basics, let’s add a brand new remote to your garage door opener! Here’s a detailed breakdown of the process:
- Locate the “learn” button on your garage door opener. It might be labeled as “learn,” “program,” or something similar. If you’re having trouble finding it, consult your opener’s manual or refer to the manufacturer’s website for a user guide. Pro tip: The “learn” button is often located near a light bulb or a cluster of LEDs on the opener unit.
- Put the opener in learning mode. This process can vary slightly depending on the brand, so again, the user manual is your best friend. However, in general, pressing and holding the “learn” button for a few seconds (usually around 3-5 seconds) will initiate learning mode. You’ll typically see a light on the opener blink or flash to confirm that it’s in learning mode.
- Sync your new remote with the opener. Within 30 seconds of putting the opener in learning mode, press and hold the button on your new remote that you want to use to control the garage door. Hold the button for a few seconds, and you should see the light on the opener flash again (or hear a beep), indicating successful programming.
Recommended This Post: 10 Reasons Why Your Garage Door Won’t Close
Reprogramming an Existing Hand-Held Remote Control
Perhaps your old remote is malfunctioning, or maybe you just want to use a different button for your garage door. Reprogramming an existing remote follows a similar process:
- Locate the “learn” button on your garage door opener (refer to the previous section for tips if needed).
- Put the opener in learning mode by following the manufacturer’s instructions (usually pressing and holding the “learn” button for a few seconds).
- Reprogram the button on your existing remote. The same as adding a new remote, press and hold the button you want to use on your existing remote within 30 seconds of activating learning mode on the opener. The light on the opener should flash (or you might hear a beep) to confirm successful programming.
Mastering Your Vehicle’s HomeLink® System
Imagine the convenience of rolling up to your house and opening the garage door without ever reaching for a remote! That’s the magic of HomeLink®, a built-in system in many vehicles that allows you to program your garage door opener directly into your car.
But wait, does my car have HomeLink®?
Not all vehicles come equipped with HomeLink®, but fret not! Here’s how to find out if yours does:
- Consult your car’s owner’s manual. The manual will have a dedicated section on HomeLink®, including instructions on how to use it and whether your specific car model has it.
- Look for the HomeLink® sticker. Many car manufacturers place a sticker on the visor or the overhead console that indicates HomeLink® compatibility.
Programming Your Car’s HomeLink® with Your Garage Door Opener
Once you’ve confirmed your car is HomeLink® equipped, here’s how to program it to work with your garage door opener:
Access the HomeLink® system in your vehicle. (Continued)
Refer to your owner’s manual for specific instructions, but it generally involves pressing a combination of buttons on the HomeLink® panel located in your car’s overhead console or near the rearview mirror. Some newer vehicles might require navigating the car’s infotainment system to access HomeLink® settings.
Initiate programming mode
Once you’ve entered the HomeLink® system, you’ll need to put it in programming mode. This is usually done by pressing and holding a designated button combination for a few seconds. Again, consult your car’s manual for the exact button combination.
Sync your vehicle’s HomeLink® with the garage door opener.
Here’s where things get interesting! You’ll essentially be “teaching” both your car’s HomeLink® and your garage door opener to communicate. The exact steps might differ slightly depending on your opener brand, but here’s a general guideline:
- Locate the “learn” button on your garage door opener. (We covered this in the previous sections).
- Press and hold the “learn” button on your opener. This will put your opener in learning mode, typically indicated by a blinking light.
- While the opener light is blinking, return to your car and press the programmed HomeLink® button. This transmits a signal from your car to the opener.
- Testing and finalizing the programming process. Once you’ve completed these steps, it’s time to test your newfound power! Press the HomeLink® button in your car, and with a whir (or a smooth glide, depending on your opener), your garage door should open. Success!
Important Note:
Some car models might require additional steps after the initial programming process is complete. For example, you might need to press and hold the HomeLink® button for a few extra seconds to finalize the connection. Refer to your car’s manual for any specific post-programming steps.
Congratulations
You’ve now conquered your garage door and unlocked the ultimate convenience of using your car’s HomeLink® system. No more scrambling for misplaced remotes – you can breeze into your garage with a simple press of a button.


